
Chive Blossom Yeast Rolls: Discover the Secret Recipe!
Introduction to Chive Blossom Yeast Rolls
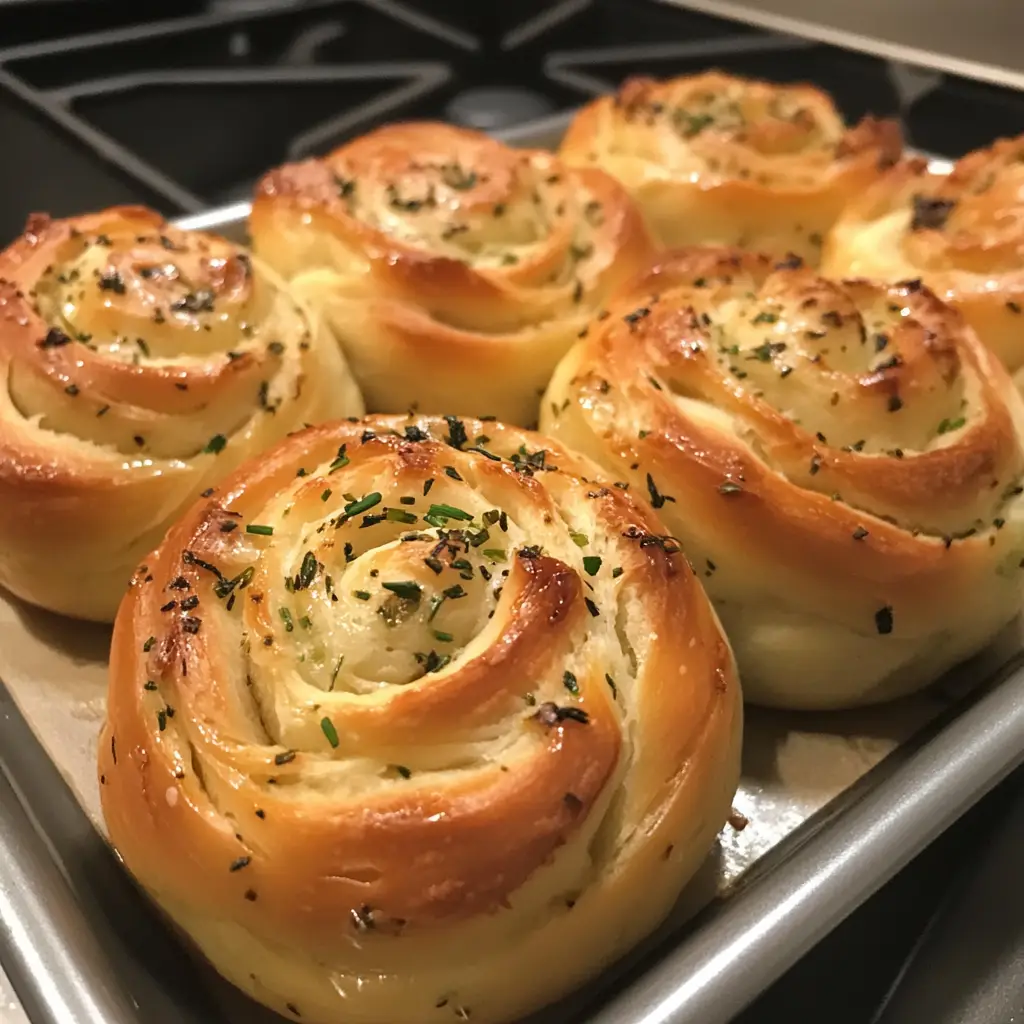
Welcome to the delightful world of Chive Blossom Yeast Rolls! If you’re like me, juggling a busy schedule while trying to whip up something special for your family can feel overwhelming. These rolls are not just a quick solution for a hectic day; they’re a way to bring a touch of homemade warmth to your table. Imagine the soft, fluffy texture and the subtle flavor of chive blossoms dancing on your palate. Trust me, your loved ones will be impressed, and you’ll feel like a culinary rockstar in no time!
Why You’ll Love This Chive Blossom Yeast Rolls
These Chive Blossom Yeast Rolls are a game-changer for busy moms and professionals alike. They’re incredibly easy to make, requiring just a few simple steps. The delightful aroma that fills your kitchen while they bake is simply irresistible. Plus, the unique flavor of chive blossoms adds a gourmet touch that will impress even the pickiest eaters. You’ll love how quickly they disappear from the dinner table!
Ingredients for Chive Blossom Yeast Rolls
Gathering the right ingredients is the first step to creating these delightful Chive Blossom Yeast Rolls. Here’s what you’ll need:
- All-purpose flour: This is the backbone of your rolls, providing structure and fluffiness.
- Warm water: Activates the yeast, helping your rolls rise beautifully. Make sure it’s not too hot!
- Sugar: A little sweetness to feed the yeast and enhance the flavor of the rolls.
- Active dry yeast: The magic ingredient that makes your rolls rise. Fresh yeast is key for the best results.
- Olive oil: Adds moisture and a subtle richness to the dough. You can substitute with melted butter if you prefer.
- Salt: Balances the flavors and strengthens the dough. Don’t skip this step!
- Chive blossoms: The star of the show! These delicate flowers infuse a mild onion flavor, making your rolls unique.
For those who want to experiment, consider adding a pinch of garlic powder for an extra kick. You can find chive blossoms at local farmers’ markets or even grow them in your garden. If you can’t find them, fresh chives can be a great substitute, though the flavor will be slightly different.
Exact measurements for these ingredients are available at the bottom of the article for easy printing. Happy baking!
How to Make Chive Blossom Yeast Rolls
Now that you have your ingredients ready, let’s dive into the fun part: making these delightful Chive Blossom Yeast Rolls! Follow these simple steps, and you’ll have warm, fluffy rolls in no time.
Step 1: Prepare the Yeast Mixture
Start by combining warm water, sugar, and active dry yeast in a bowl. Stir gently to mix. Let this sit for about 5-10 minutes. You’ll know it’s ready when it becomes frothy and bubbly. This is the yeast waking up, and it’s a beautiful sight!
Step 2: Mix in the Ingredients
Once your yeast mixture is frothy, add in the olive oil, salt, and chopped chive blossoms. Stir everything together until well combined. The chive blossoms will add a lovely aroma that fills your kitchen with anticipation!
Step 3: Form the Dough
Now, it’s time to gradually add the all-purpose flour. Mix it in slowly, using a wooden spoon or your hands, until a dough starts to form. Don’t rush this step; the dough should come together nicely without being too sticky.
Step 4: Knead the Dough
Transfer the dough to a floured surface. Knead it for about 5-7 minutes until it’s smooth and elastic. This is where the magic happens! Kneading helps develop the gluten, giving your rolls that perfect fluffy texture.
Step 5: Let the Dough Rise
Place the kneaded dough in a greased bowl, turning it to coat all sides. Cover it with a clean kitchen towel and let it rise in a warm place for about 1 hour. You want it to double in size, so be patient! This is the dough’s time to shine.
Step 6: Shape the Rolls
After the dough has risen, punch it down gently to release the air. Now, divide the dough into equal portions and shape them into rolls. You can make them as big or small as you like, but I recommend keeping them bite-sized for easy enjoyment!
Step 7: Second Rise
Place the shaped rolls on a baking sheet lined with parchment paper. Cover them again with a towel and let them rise for another 30 minutes. This second rise is crucial for achieving that light, airy texture.
Step 8: Bake the Rolls
Preheat your oven to 375°F (190°C). Once the rolls have risen, pop them in the oven and bake for 20-25 minutes. Keep an eye on them; you want them to turn golden brown. The aroma will be heavenly, and you’ll be counting down the minutes until you can dig in!
Tips for Success
- Always use warm water, not hot, to activate the yeast properly.
- Let the dough rise in a warm, draft-free area for the best results.
- Don’t skip the second rise; it’s key for fluffy rolls.
- Brush the rolls with olive oil before baking for a golden finish.
- Experiment with herbs or spices to customize your rolls!
Equipment Needed
- Mixing bowl: A large bowl for combining ingredients. A sturdy pot can work too.
- Wooden spoon: Perfect for mixing. You can also use your hands for a more personal touch.
- Floured surface: A clean countertop or cutting board for kneading. A silicone mat is a great alternative.
- Baking sheet: For placing the rolls. A cast-iron skillet adds a rustic charm.
- Kitchen towel: To cover the dough while it rises. A plastic wrap works just as well.
Variations of Chive Blossom Yeast Rolls
- Garlic Chive Blossom Rolls: Add minced garlic or garlic powder to the dough for a savory twist that pairs beautifully with the chive blossoms.
- Cheesy Chive Rolls: Incorporate shredded cheese, like cheddar or mozzarella, into the dough for a gooey, cheesy delight.
- Herbed Rolls: Mix in other fresh herbs like parsley or dill along with the chive blossoms for a burst of flavor.
- Whole Wheat Variation: Substitute half of the all-purpose flour with whole wheat flour for a heartier roll with added nutrition.
- Gluten-Free Option: Use a gluten-free all-purpose flour blend to make these rolls suitable for those with gluten sensitivities.
Serving Suggestions for Chive Blossom Yeast Rolls
- Pair these rolls with a warm bowl of creamy soup, like potato leek or tomato basil.
- Serve alongside a fresh garden salad drizzled with a light vinaigrette for a delightful contrast.
- For a cozy dinner, enjoy them with roasted chicken or grilled vegetables.
- Present them in a rustic basket lined with a cloth for a charming touch.
- Complement with a glass of chilled white wine or sparkling water for a refreshing sip.
FAQs about Chive Blossom Yeast Rolls
Can I use dried chives instead of chive blossoms?
While dried chives can add flavor, they won’t provide the same delicate taste and aroma as fresh chive blossoms. If you can’t find blossoms, fresh chives are a better substitute.
How do I store leftover Chive Blossom Yeast Rolls?
Store any leftover rolls in an airtight container at room temperature for up to three days. You can also freeze them for longer storage. Just reheat in the oven when you’re ready to enjoy!
Can I make the dough ahead of time?
Absolutely! You can prepare the dough and let it rise, then punch it down and refrigerate it overnight. Just bring it back to room temperature before shaping and baking.
What can I serve with Chive Blossom Yeast Rolls?
These rolls pair wonderfully with soups, salads, or roasted meats. They also make a great addition to a brunch spread alongside eggs and fresh fruit.
Can I add other flavors to the rolls?
Definitely! Feel free to experiment with different herbs, spices, or even cheese to create your own unique version of Chive Blossom Yeast Rolls. The possibilities are endless!
Final Thoughts
Making Chive Blossom Yeast Rolls is more than just baking; it’s about creating memories in the kitchen. The joy of watching the dough rise, the aroma wafting through your home, and the smiles on your loved ones’ faces as they savor each fluffy bite are priceless. These rolls are a testament to the magic of home cooking, bringing warmth and comfort to any meal. So, whether it’s a busy weeknight or a special gathering, let these delightful rolls be your secret weapon. Trust me, once you try them, you’ll want to make them again and again!
PrintChive Blossom Yeast Rolls: Discover the Secret Recipe!
Chive Blossom Yeast Rolls are soft, fluffy rolls infused with the delicate flavor of chive blossoms, perfect for any meal.
- Prep Time: 15 minutes
- Cook Time: 25 minutes
- Total Time: 1 hour 40 minutes
- Yield: 12 rolls 1x
- Category: Baking
- Method: Baking
- Cuisine: American
- Diet: Vegetarian
Ingredients
- 2 cups all-purpose flour
- 1 cup warm water
- 2 tablespoons sugar
- 1 tablespoon active dry yeast
- 1/4 cup olive oil
- 1 teaspoon salt
- 1/2 cup chive blossoms, chopped
Instructions
- In a bowl, combine warm water, sugar, and yeast. Let it sit for 5-10 minutes until frothy.
- Add olive oil, salt, and chopped chive blossoms to the yeast mixture.
- Gradually add flour, mixing until a dough forms.
- Knead the dough on a floured surface for about 5-7 minutes until smooth.
- Place the dough in a greased bowl, cover, and let it rise in a warm place for 1 hour or until doubled in size.
- Punch down the dough and shape it into rolls.
- Place the rolls on a baking sheet, cover, and let them rise for another 30 minutes.
- Bake in a preheated oven at 375°F (190°C) for 20-25 minutes or until golden brown.
Notes
- For a richer flavor, you can add garlic powder to the dough.
- These rolls are best served warm.
- Store leftovers in an airtight container for up to 3 days.
Nutrition
- Serving Size: 1 roll
- Calories: 150
- Sugar: 1g
- Sodium: 200mg
- Fat: 5g
- Saturated Fat: 0.5g
- Unsaturated Fat: 4g
- Trans Fat: 0g
- Carbohydrates: 22g
- Fiber: 1g
- Protein: 4g
- Cholesterol: 0mg
Keywords: Chive Blossom Yeast Rolls, homemade rolls, baking recipes