
Oreo Snow Globes: Create Magical Treats This Winter!
Introduction to Oreo Snow Globes
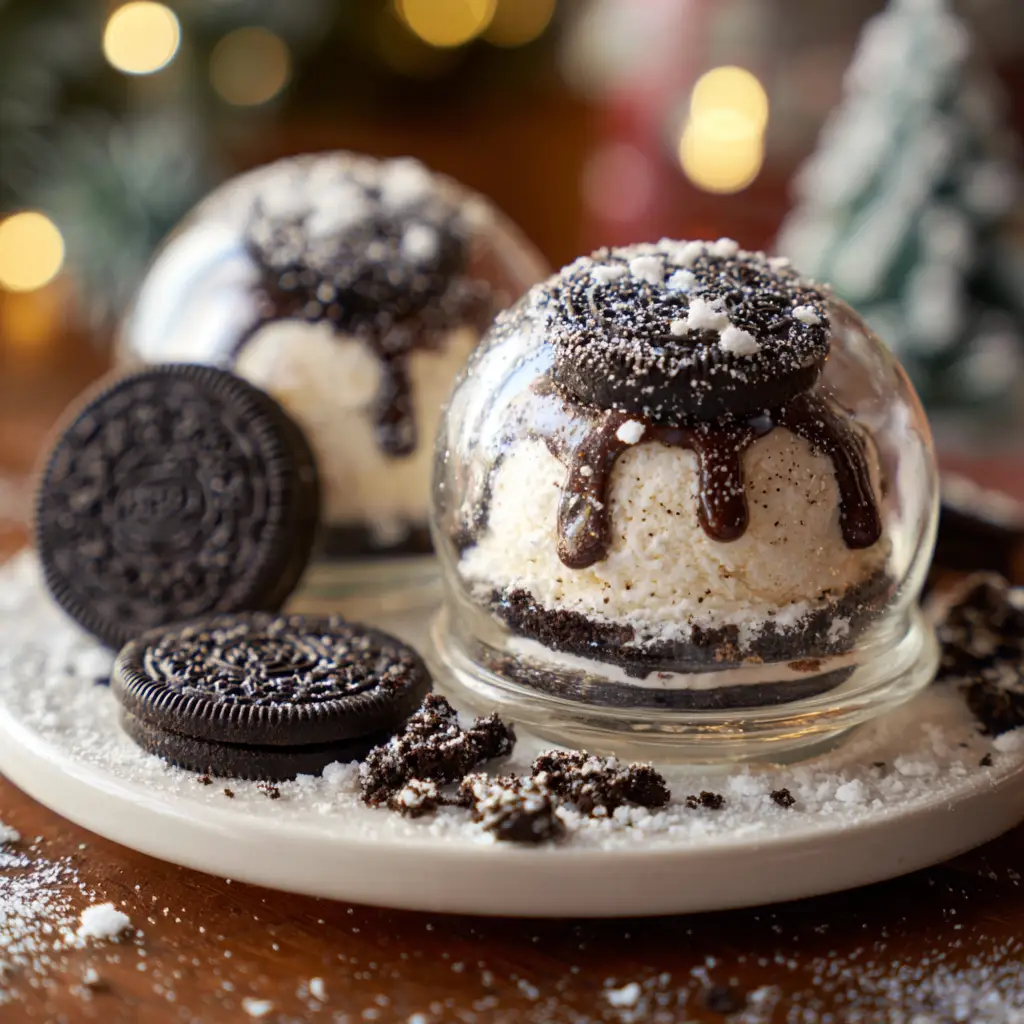
As the winter chill sets in, I find myself craving cozy treats that bring a sprinkle of joy to my kitchen. That’s where these delightful Oreo Snow Globes come in! They’re not just a feast for the eyes; they’re a quick solution for busy days when you want to impress your loved ones without spending hours in the kitchen. With just a handful of ingredients, you can create these magical treats that capture the essence of the season. Trust me, your family will be enchanted by these sweet little wonders!
Why You’ll Love This Oreo Snow Globes
These Oreo Snow Globes are a dream come true for busy moms and professionals alike. They’re incredibly easy to whip up, taking just 30 minutes from start to finish. Plus, the combination of creamy white chocolate and crunchy Oreos creates a taste that’s simply irresistible. Whether you’re hosting a holiday gathering or just want a fun treat for the kids, these snow globes will surely bring smiles all around!
Ingredients for Oreo Snow Globes
Creating these enchanting Oreo Snow Globes is a breeze with just a few simple ingredients. Here’s what you’ll need:
- Oreo cookies: The star of the show! Their rich chocolate flavor provides the perfect base for our snow globes.
- White chocolate melts: These add a creamy sweetness and help create that snowy effect on the cups.
- Shredded coconut: This fluffy ingredient mimics snow beautifully, giving your treats a winter wonderland vibe.
- Mini marshmallows: These little puffs resemble snowdrifts and add a fun texture to your snow globes.
- Edible glitter (optional): For a touch of magic, sprinkle some glitter on top. It’s not necessary, but who doesn’t love a little sparkle?
- Clear plastic cups: These serve as the perfect vessel for your creations, allowing everyone to see the delicious layers inside.
For exact measurements, check the bottom of the article where you can find everything you need for printing. Feel free to get creative with your ingredients! You can swap out the coconut for crushed graham crackers for a different texture or use dark chocolate melts for a richer flavor. The possibilities are endless!
How to Make Oreo Snow Globes
Now that you have your ingredients ready, let’s dive into the fun part—making these magical Oreo Snow Globes! Follow these simple steps, and you’ll have a delightful treat that’s sure to impress.
Step 1: Crush the Oreo Cookies
Start by placing your Oreo cookies in a zip-top bag. Use a rolling pin or your hands to crush them into fine crumbs. The texture should resemble sand. This will be the base of your snow globes, so make sure they’re nice and crumbly!
Step 2: Melt the White Chocolate
Next, grab a microwave-safe bowl and add your white chocolate melts. Heat them in the microwave in 30-second intervals, stirring in between. You want the chocolate to be smooth and melted, not too hot. This creamy goodness will help create that snowy effect on your cups.
Step 3: Prepare the Cups
Now, it’s time to make those clear plastic cups look festive! Dip the rim of each cup into the melted white chocolate. Then, immediately roll the rim in shredded coconut. This creates a snowy look that’s simply irresistible. Set the cups aside to let the chocolate cool slightly.
Step 4: Create the Base
Once your cups are ready, fill them with the crushed Oreo cookies. Pack them down gently to create a solid base. This layer is where the magic begins, so make sure it’s nice and even. You want each bite to be filled with that delicious Oreo flavor!
Step 5: Add the Snow
Now, it’s time to add the mini marshmallows on top of the Oreo base. These fluffy little treats will resemble snowdrifts in your snow globes. Feel free to pile them high for a whimsical look. The more, the merrier!
Step 6: Drizzle and Decorate
Take the remaining melted white chocolate and drizzle it over the marshmallows. This adds a beautiful finish and helps hold everything together. If you’re feeling extra festive, sprinkle some edible glitter on top for that magical touch. Who doesn’t love a little sparkle during the holidays?
Step 7: Let Them Set
Finally, let your Oreo Snow Globes set until the chocolate hardens. This usually takes about 15-20 minutes. Once they’re ready, you can serve them right away or store them in an airtight container. Either way, they’re sure to be a hit!
Tips for Success
- Make sure to crush the Oreos finely for a better texture.
- Let the melted chocolate cool slightly before dipping the cups to avoid melting the plastic.
- Use fresh mini marshmallows for the best fluffiness.
- Experiment with different toppings like crushed candy canes for a festive twist.
- Store any leftovers in an airtight container to keep them fresh.
Equipment Needed
- Zip-top bag: Perfect for crushing Oreos. A bowl and a fork work too!
- Rolling pin: Ideal for crushing cookies. You can also use a heavy can or your hands.
- Microwave-safe bowl: Essential for melting chocolate. Any heatproof bowl will do.
- Spatula: Great for drizzling chocolate. A spoon can work in a pinch!
- Clear plastic cups: These showcase your treats. Small glass jars are a lovely alternative.
Variations
- Chocolate Lovers: Swap out the white chocolate melts for dark chocolate or milk chocolate for a richer flavor.
- Nutty Delight: Add crushed nuts like almonds or walnuts to the Oreo base for an extra crunch.
- Gluten-Free Option: Use gluten-free Oreo cookies to make these treats suitable for those with dietary restrictions.
- Fruit Flavors: Incorporate freeze-dried fruit pieces, like strawberries or raspberries, for a fruity twist.
- Vegan Version: Use dairy-free chocolate melts and vegan marshmallows to create a plant-based treat.
Serving Suggestions
- Pair your Oreo Snow Globes with a warm cup of hot cocoa for a cozy treat.
- Serve them on a festive platter, surrounded by holiday-themed decorations for a stunning presentation.
- Consider adding a scoop of vanilla ice cream on the side for an extra indulgent experience.
- For a fun twist, offer a variety of toppings for guests to customize their snow globes!
FAQs about Oreo Snow Globes
Can I make Oreo Snow Globes in advance?
Absolutely! These treats can be made a day in advance. Just store them in an airtight container to keep them fresh. This makes them perfect for holiday gatherings when you need to save time!
What can I use instead of white chocolate melts?
If you’re not a fan of white chocolate, feel free to use dark or milk chocolate melts. They’ll still create that delightful snowy effect while adding a different flavor profile to your Oreo Snow Globes.
How do I store leftover Oreo Snow Globes?
To keep your Oreo Snow Globes fresh, store them in an airtight container at room temperature. They should last for about 3-4 days, but I doubt they’ll last that long with how delicious they are!
Can I customize the toppings on my Oreo Snow Globes?
Definitely! Get creative with your toppings. You can add crushed candy canes, sprinkles, or even small candy figurines inside the cups for a fun surprise. The options are endless!
Are Oreo Snow Globes suitable for kids?
Yes! These treats are kid-friendly and perfect for holiday parties. Just keep an eye on the edible glitter if you have little ones, as it can be a choking hazard if consumed in large amounts.
Final Thoughts
Creating Oreo Snow Globes is more than just making a dessert; it’s about crafting sweet memories with your loved ones. The joy of watching their faces light up as they dig into these whimsical treats is priceless. Plus, the simplicity of this no-bake recipe means you can whip them up even on the busiest days. Whether you’re sharing them at a holiday gathering or enjoying them at home, these magical snow globes are sure to bring warmth and cheer to your winter season. So, gather your ingredients and let the fun begin!
PrintOreo Snow Globes: Create Magical Treats This Winter!

Oreo Snow Globes are delightful winter-themed treats that combine the classic taste of Oreos with a fun and festive presentation, perfect for holiday gatherings.
- Prep Time: 20 minutes
- Cook Time: 10 minutes
- Total Time: 30 minutes
- Yield: 12 servings 1x
- Category: Dessert
- Method: No-Bake
- Cuisine: American
- Diet: Vegetarian
Ingredients
- 1 package of Oreo cookies
- 1 package of white chocolate melts
- 1 cup of shredded coconut
- Mini marshmallows
- Edible glitter (optional)
- Clear plastic cups
Instructions
- Crush the Oreo cookies into fine crumbs.
- Melt the white chocolate melts in a microwave-safe bowl.
- Dip the rim of the clear plastic cups into the melted chocolate and then into the shredded coconut to create a snowy effect.
- Fill the cups with the crushed Oreo cookies to create the base.
- Add mini marshmallows on top to resemble snow.
- Drizzle more melted chocolate on top and sprinkle with edible glitter if desired.
- Let the treats set until the chocolate hardens.
- Serve and enjoy your magical Oreo Snow Globes!
Notes
- For a fun twist, you can add small candy figurines inside the cups.
- Make sure to let the chocolate cool slightly before dipping the cups.
- These treats can be made a day in advance and stored in an airtight container.
Nutrition
- Serving Size: 1 snow globe
- Calories: 150
- Sugar: 10g
- Sodium: 50mg
- Fat: 7g
- Saturated Fat: 4g
- Unsaturated Fat: 2g
- Trans Fat: 0g
- Carbohydrates: 20g
- Fiber: 1g
- Protein: 1g
- Cholesterol: 5mg
Keywords: Oreo Snow Globes, winter treats, holiday desserts, no-bake recipes