
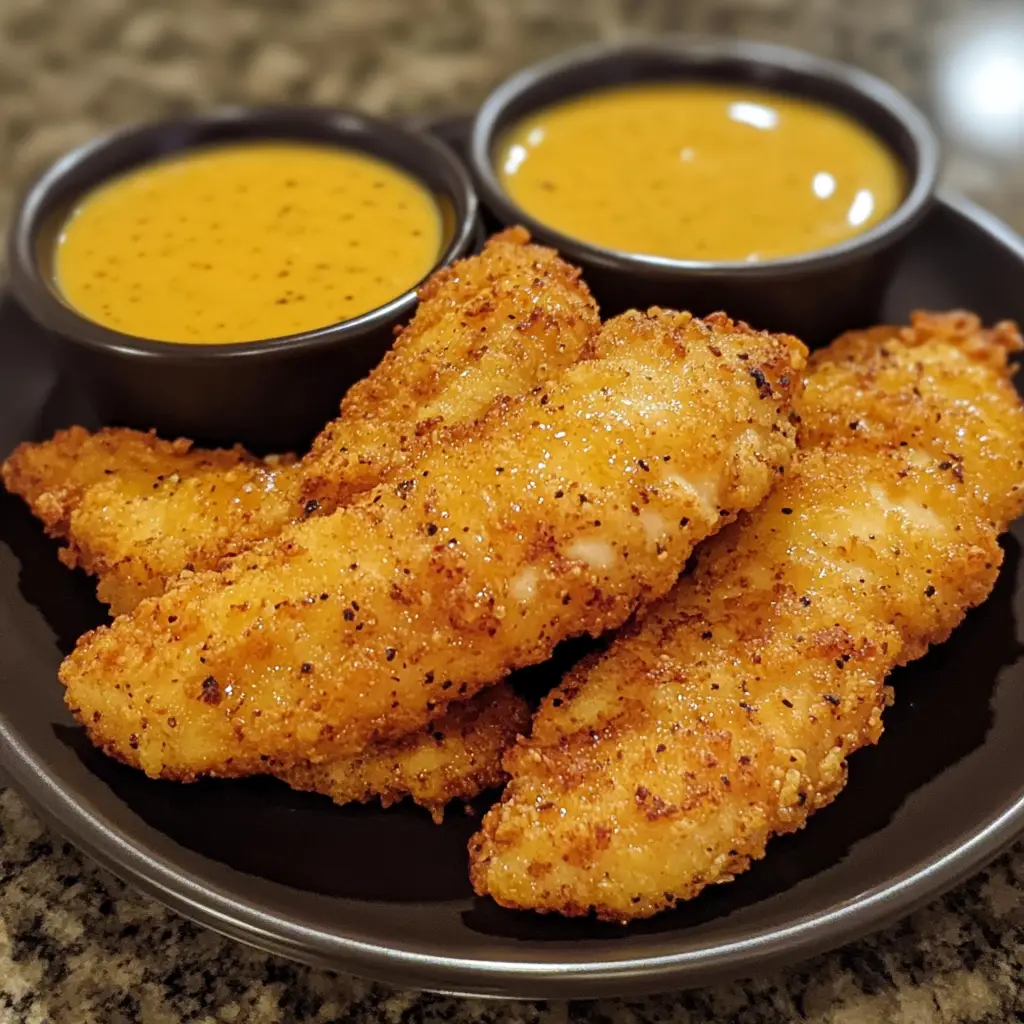
Honey Mustard Chicken Tenders
Introduction to Honey Mustard Chicken Tenders
As a busy mom, I know how challenging it can be to whip up a meal that pleases everyone. That’s why I absolutely adore these Honey Mustard Chicken Tenders! They’re not just quick to make; they’re also a delightful blend of sweet and tangy flavors that my family can’t resist. Whether it’s a hectic weeknight or a casual weekend gathering, this dish is a perfect solution. With just a handful of ingredients and minimal prep time, you can serve up a plate of happiness that will impress your loved ones and satisfy those picky eaters!
Why You’ll Love This Honey Mustard Chicken Tenders
These Honey Mustard Chicken Tenders are a lifesaver for busy days! They come together in just 30 minutes, making them perfect for a quick dinner. The combination of honey and mustard creates a mouthwatering flavor that’s both sweet and savory. Plus, they’re baked, not fried, so you can enjoy a healthier meal without sacrificing taste. Trust me, your family will be asking for seconds!
Ingredients for Honey Mustard Chicken Tenders
Gathering the right ingredients is the first step to creating these delicious Honey Mustard Chicken Tenders. Here’s what you’ll need:
- Chicken tenders: These are the stars of the dish! Tender and juicy, they cook quickly and are easy to handle.
- Honey: This natural sweetener adds a delightful sweetness that balances the tanginess of the mustard.
- Dijon mustard: With its sharp flavor, Dijon mustard gives the tenders a zesty kick that elevates the dish.
- Breadcrumbs: They create a crispy coating that adds texture. You can use regular or gluten-free breadcrumbs based on your preference.
- Garlic powder: A sprinkle of garlic powder enhances the flavor, giving it a warm, savory note.
- Onion powder: This adds depth and a hint of sweetness, complementing the other flavors beautifully.
- Salt and pepper: Essential for seasoning, these simple ingredients bring out the best in your chicken.
- Cooking spray: A light mist helps achieve that golden-brown finish without the extra calories from oil.
If you’re feeling adventurous, consider adding a dash of cayenne pepper to the breadcrumb mixture for a spicy twist! You can find all the exact measurements at the bottom of the article, ready for printing. Happy cooking!
How to Make Honey Mustard Chicken Tenders
Now that you have your ingredients ready, let’s dive into the fun part—making these delicious Honey Mustard Chicken Tenders! Follow these simple steps, and you’ll have a mouthwatering dish in no time.
Step 1: Preheat the Oven
First things first, preheat your oven to 400°F (200°C). Preheating is crucial because it ensures that your chicken tenders cook evenly and get that lovely golden-brown color. Think of it as warming up your kitchen for a cozy meal!
Step 2: Prepare the Honey Mustard Mixture
In a medium bowl, mix together the honey and Dijon mustard until they’re well combined. This sweet and tangy mixture is the heart of the dish. The honey brings a delightful sweetness, while the mustard adds a zesty kick. It’s a match made in flavor heaven!
Step 3: Create the Breadcrumb Coating
In another bowl, combine the breadcrumbs, garlic powder, onion powder, salt, and pepper. This mixture is where the magic happens! The breadcrumbs will give your chicken tenders that crispy texture, while the spices enhance the overall flavor. Give it a good stir to ensure everything is evenly mixed.
Step 4: Coat the Chicken Tenders
Now, it’s time to coat the chicken tenders. Dip each tender into the honey mustard mixture, making sure it’s fully covered. Then, roll it in the breadcrumb mixture until it’s well coated. This double-dipping technique ensures maximum flavor and crunch. Trust me, your taste buds will thank you!
Step 5: Arrange on Baking Sheet
Place the coated chicken tenders on a baking sheet lined with parchment paper. Make sure to space them out a bit. This allows the hot air to circulate around each tender, ensuring they cook evenly. No one likes soggy chicken, right?
Step 6: Bake to Perfection
Pop the baking sheet into the preheated oven and bake for 15-20 minutes. Keep an eye on them! You’ll know they’re done when they’re golden brown and the internal temperature reaches 165°F (75°C). A meat thermometer is a handy tool for this!
Step 7: Serve and Enjoy
Once your Honey Mustard Chicken Tenders are out of the oven, let them cool for a minute. Serve them warm with extra honey mustard on the side for dipping. They pair wonderfully with a fresh salad or crispy fries. Enjoy every bite!
Tips for Success
- Use fresh chicken tenders for the best flavor and texture.
- Don’t skip the preheating step; it’s key for even cooking.
- For extra crunch, consider using panko breadcrumbs.
- Let the tenders rest for a few minutes after baking to lock in moisture.
- Experiment with different mustards for unique flavor profiles.
Equipment Needed
- Baking sheet: A standard baking sheet works well, but a wire rack can help with even cooking.
- Parchment paper: This keeps the tenders from sticking; aluminum foil is a good alternative.
- Mixing bowls: Use any size you have on hand for mixing ingredients.
- Meat thermometer: Essential for checking doneness; a simple knife can also work to cut into the chicken.
Variations of Honey Mustard Chicken Tenders
- Spicy Honey Mustard: Add a teaspoon of hot sauce or a pinch of cayenne pepper to the honey mustard mixture for a fiery kick.
- Herb-Infused: Mix in dried herbs like thyme or rosemary into the breadcrumb coating for an aromatic twist.
- Parmesan Crust: Combine grated Parmesan cheese with the breadcrumbs for a cheesy, savory flavor.
- Gluten-Free Option: Use gluten-free breadcrumbs and ensure your mustard is gluten-free for a safe alternative.
- Honey Mustard Veggie Tenders: Substitute chicken with zucchini or eggplant strips for a vegetarian version that’s just as tasty!
Serving Suggestions for Honey Mustard Chicken Tenders
- Pair with a crisp garden salad for a refreshing contrast.
- Serve alongside sweet potato fries for a delightful twist.
- Offer a side of coleslaw for added crunch and flavor.
- Complement with a light white wine or sparkling water.
- Garnish with fresh herbs for a pop of color!
FAQs about Honey Mustard Chicken Tenders
Can I make Honey Mustard Chicken Tenders ahead of time?
Absolutely! You can prepare the chicken tenders and coat them in the breadcrumb mixture a few hours in advance. Just cover them and refrigerate until you’re ready to bake. This makes dinner even easier on busy nights!
What can I serve with Honey Mustard Chicken Tenders?
These tenders pair wonderfully with a variety of sides. Consider serving them with a fresh salad, crispy fries, or even roasted vegetables. They also taste great with a side of honey mustard for dipping!
Can I freeze leftover Honey Mustard Chicken Tenders?
Yes, you can freeze them! Just let the cooked tenders cool completely, then place them in an airtight container. They’ll stay fresh for up to three months. Reheat in the oven for the best texture!
Are Honey Mustard Chicken Tenders healthy?
These tenders are a healthier option compared to traditional fried chicken. Baked instead of fried, they’re lower in calories and fat. Plus, you can control the ingredients, making them a nutritious choice for your family!
Can I use other types of mustard?
Definitely! While Dijon mustard is my go-to for its flavor, you can experiment with yellow mustard, spicy brown mustard, or even honey mustard for a different taste. Each will give your tenders a unique twist!
Final Thoughts
Making Honey Mustard Chicken Tenders is more than just cooking; it’s about creating joyful moments around the dinner table. The sweet and tangy flavors bring smiles to my family’s faces, and the ease of preparation means I can spend more time enjoying their company. Whether it’s a busy weeknight or a fun weekend gathering, this dish never fails to impress. I hope you find as much joy in making these tenders as I do. So roll up your sleeves, gather your loved ones, and dive into this delicious adventure together. Happy cooking!
PrintHoney Mustard Chicken Tenders: A Flavorful Recipe You’ll Love!
Honey Mustard Chicken Tenders are a delicious and easy-to-make dish that combines the sweetness of honey with the tanginess of mustard, creating a flavorful coating for tender chicken strips.
- Prep Time: 10 minutes
- Cook Time: 20 minutes
- Total Time: 30 minutes
- Yield: 4 servings 1x
- Category: Main Dish
- Method: Baking
- Cuisine: American
- Diet: Gluten Free
Ingredients
- 1 lb chicken tenders
- 1/4 cup honey
- 1/4 cup Dijon mustard
- 1/2 cup breadcrumbs
- 1/2 tsp garlic powder
- 1/2 tsp onion powder
- Salt and pepper to taste
- Cooking spray
Instructions
- Preheat the oven to 400°F (200°C).
- In a bowl, mix honey and Dijon mustard until well combined.
- In another bowl, combine breadcrumbs, garlic powder, onion powder, salt, and pepper.
- Dip each chicken tender into the honey mustard mixture, then coat with the breadcrumb mixture.
- Place the coated chicken tenders on a baking sheet lined with parchment paper.
- Spray the tenders lightly with cooking spray.
- Bake for 15-20 minutes or until the chicken is cooked through and golden brown.
- Serve warm with extra honey mustard for dipping.
Notes
- For a spicier kick, add a dash of cayenne pepper to the breadcrumb mixture.
- These tenders can be served with a side salad or fries for a complete meal.
- Leftovers can be stored in an airtight container in the refrigerator for up to 3 days.
Nutrition
- Serving Size: 1 serving
- Calories: 250
- Sugar: 8g
- Sodium: 300mg
- Fat: 8g
- Saturated Fat: 1g
- Unsaturated Fat: 5g
- Trans Fat: 0g
- Carbohydrates: 20g
- Fiber: 1g
- Protein: 25g
- Cholesterol: 70mg
Keywords: Honey Mustard Chicken Tenders, Chicken Recipe, Easy Chicken Dinner