
Holiday Thumbprint Cookies with Jam: A Festive Delight!
Introduction to Holiday Thumbprint Cookies with Jam
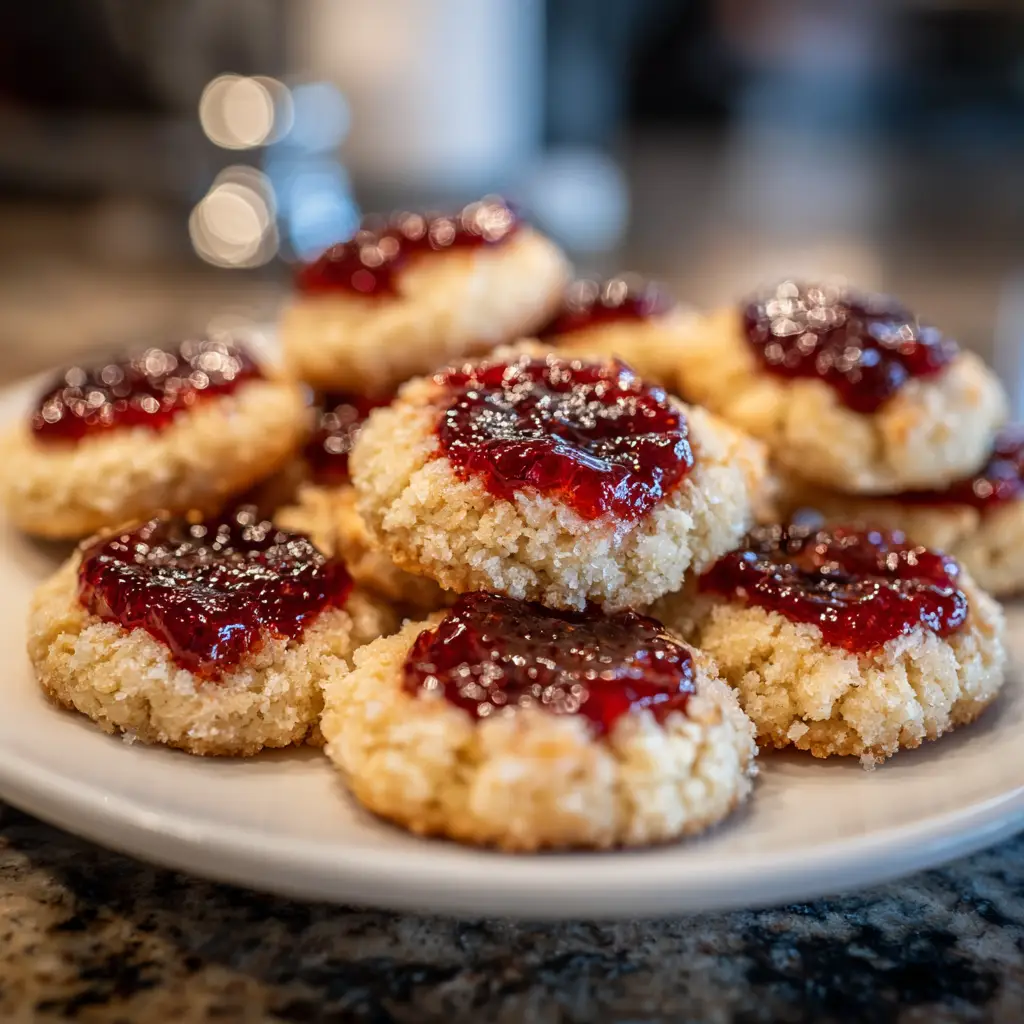
As the holiday season approaches, I find myself dreaming of sweet treats that bring joy to my family and friends. That’s where these delightful Holiday Thumbprint Cookies with Jam come in! They’re not just cookies; they’re little bites of happiness that can brighten any gathering. With their buttery texture and fruity centers, they’re perfect for busy days when you want to whip up something special without spending hours in the kitchen. Plus, they make a lovely gift or a festive addition to your dessert table. Trust me, these cookies will impress everyone!
Why You’ll Love This Holiday Thumbprint Cookies with Jam
These Holiday Thumbprint Cookies with Jam are a true lifesaver for busy moms and professionals alike. They come together in just 35 minutes, making them a quick and easy treat for any occasion. The buttery flavor paired with your favorite jam creates a delightful taste that will have everyone coming back for more. Plus, they’re versatile enough to suit any palate, ensuring that everyone at your gathering will find joy in each bite!
Ingredients for Holiday Thumbprint Cookies with Jam
Gathering the right ingredients is the first step to creating these delightful Holiday Thumbprint Cookies with Jam. Here’s what you’ll need:
- Unsalted butter: This is the star of the show, providing a rich, creamy base for the cookies. Make sure it’s softened for easy mixing.
- Granulated sugar: Sweetness is key! This sugar helps create that lovely, tender texture we all adore in cookies.
- Egg yolk: Just one yolk adds richness and moisture, making the cookies melt-in-your-mouth delicious.
- Vanilla extract: A splash of vanilla elevates the flavor, giving the cookies a warm, inviting aroma.
- All-purpose flour: This is the backbone of the cookie dough, providing structure and stability.
- Salt: A pinch of salt enhances the sweetness and balances the flavors beautifully.
- Jam: Choose your favorite flavor! Whether it’s raspberry, apricot, or strawberry, the jam adds a fruity burst that makes each cookie special.
Feel free to experiment with different flavors of jam to suit your taste. You can also substitute the butter with a plant-based alternative for a dairy-free version. For exact measurements, check the bottom of the article where you can find a printable version of the recipe!
How to Make Holiday Thumbprint Cookies with Jam
Now that you have your ingredients ready, let’s dive into the fun part—making these delightful Holiday Thumbprint Cookies with Jam! Follow these simple steps, and you’ll have a batch of cookies that will make your home smell like a holiday wonderland.
Step 1: Preheat the Oven
First things first, preheat your oven to 350°F (175°C). Preheating is crucial because it ensures that your cookies bake evenly. If you skip this step, you might end up with cookies that are too soft or burnt on the edges. Trust me, a well-preheated oven is your best friend in baking!
Step 2: Cream Butter and Sugar
In a large bowl, cream together the softened butter and granulated sugar until the mixture is light and fluffy. This step is vital because it incorporates air into the dough, giving your cookies that perfect tender texture. Use a hand mixer or stand mixer for the best results, but a good old-fashioned wooden spoon works too if you’re feeling strong!
Step 3: Add Egg Yolk and Vanilla
Next, add the egg yolk and vanilla extract to the creamed mixture. The egg yolk adds richness, while the vanilla brings warmth and depth to the flavor. Mix until everything is well combined. You’ll notice the dough becoming smoother and more inviting!
Step 4: Combine Dry Ingredients
Now, it’s time to add the dry ingredients. Gradually mix in the all-purpose flour and salt. I like to do this in batches to avoid a flour explosion! Stir until a soft dough forms. Be careful not to overmix; you want to keep that tender texture we’re aiming for.
Step 5: Shape the Dough
Once your dough is ready, roll it into 1-inch balls. Place them on a baking sheet lined with parchment paper, leaving some space between each ball. This allows the cookies to spread without sticking together. It’s like giving them their own little space to shine!
Step 6: Create Indentations
Here comes the fun part! Use your thumb or the back of a spoon to create an indentation in the center of each dough ball. This is where the jam will go, so make sure it’s deep enough to hold a good amount. Don’t worry if they don’t look perfect; they’ll still taste amazing!
Step 7: Fill with Jam
Now, choose your favorite jam and fill each indentation generously. Whether you go for raspberry, apricot, or strawberry, the jam adds a burst of flavor that makes these cookies special. Just be careful not to overfill; you don’t want it spilling over while baking!
Step 8: Bake the Cookies
Pop the baking sheet into your preheated oven and bake for 12-15 minutes. Keep an eye on them! You’ll know they’re done when the edges are lightly golden. The aroma wafting through your kitchen will be heavenly, and you might find it hard to wait!
Step 9: Cool and Enjoy
Once baked, allow the cookies to cool on the baking sheet for a few minutes. Then, transfer them to a wire rack to cool completely. This step is essential for achieving that perfect texture. Store your cookies in an airtight container, and they’ll stay fresh for up to a week. But let’s be honest, they probably won’t last that long!
Tips for Success
- Make sure your butter is at room temperature for easy creaming.
- Use a cookie scoop for uniform dough balls; it makes shaping easier!
- Chill the dough for 15 minutes if it feels too soft to handle.
- Experiment with different jams for unique flavor combinations.
- Don’t skip the cooling step; it helps the cookies set perfectly.
Equipment Needed
- Mixing bowl: A large bowl for combining ingredients. A stand mixer works great, but a hand mixer or whisk will do just fine.
- Baking sheet: Use a standard baking sheet lined with parchment paper. If you don’t have parchment, greasing the sheet works too.
- Cookie scoop: This is optional but helps in making uniform dough balls. A tablespoon works well if you don’t have one!
Variations of Holiday Thumbprint Cookies with Jam
- Nutty Delight: Add chopped nuts like walnuts or pecans to the dough for a crunchy texture and rich flavor.
- Chocolate Lovers: Mix in cocoa powder to the dough for a chocolatey twist, and fill with chocolate ganache instead of jam.
- Gluten-Free Option: Substitute all-purpose flour with a gluten-free flour blend to make these cookies suitable for gluten-sensitive friends.
- Spiced Up: Add a teaspoon of cinnamon or nutmeg to the dough for a warm, spiced flavor that’s perfect for the holidays.
- Fruit Medley: Use a combination of jams, like raspberry and apricot, for a delightful mix of flavors in each cookie.
Serving Suggestions for Holiday Thumbprint Cookies with Jam
- Pair these cookies with a warm cup of tea or coffee for a cozy afternoon treat.
- Serve them on a festive platter, garnished with fresh mint leaves for a pop of color.
- For a fun twist, add a scoop of vanilla ice cream on the side!
- These cookies also make a lovely addition to holiday gift baskets.
FAQs about Holiday Thumbprint Cookies with Jam
Can I use different types of jam for these cookies?
Absolutely! One of the best things about Holiday Thumbprint Cookies with Jam is their versatility. You can use any jam you love, from classic strawberry to exotic fig. Feel free to mix and match flavors for a fun twist!
How do I store leftover cookies?
To keep your cookies fresh, store them in an airtight container at room temperature. They’ll stay delicious for up to a week. If you want to keep them longer, you can freeze them for up to three months!
Can I make the dough ahead of time?
Yes! You can prepare the dough in advance and refrigerate it for up to 24 hours. Just let it sit at room temperature for a few minutes before rolling it into balls. This makes it super convenient for busy days!
What can I do if my dough is too sticky?
If your dough feels sticky, don’t worry! You can chill it in the refrigerator for about 15 minutes. This will make it easier to handle and shape into balls. A little flour on your hands can also help!
Are these cookies suitable for gifting?
Definitely! These Holiday Thumbprint Cookies with Jam make a lovely gift. Just package them in a decorative tin or box, and you’ll have a thoughtful present that’s sure to delight anyone on your list!
Final Thoughts
Making Holiday Thumbprint Cookies with Jam is more than just baking; it’s about creating memories and sharing joy. The aroma of these cookies wafting through your home can instantly lift spirits and bring loved ones together. Each bite is a reminder of the warmth of the season, filled with laughter and love. Whether you’re enjoying them with a cup of tea or gifting them to friends, these cookies are sure to spread happiness. So, roll up your sleeves, gather your ingredients, and let the magic of baking fill your heart and home this holiday season!
PrintHoliday Thumbprint Cookies with Jam: A Festive Delight!

Delicious holiday thumbprint cookies filled with your choice of jam, perfect for festive gatherings.
- Prep Time: 20 minutes
- Cook Time: 15 minutes
- Total Time: 35 minutes
- Yield: 24 cookies 1x
- Category: Dessert
- Method: Baking
- Cuisine: American
- Diet: Vegetarian
Ingredients
- 1 cup unsalted butter, softened
- 1 cup granulated sugar
- 1 large egg yolk
- 2 teaspoons vanilla extract
- 2 cups all-purpose flour
- 1/2 teaspoon salt
- 1/2 cup jam (your choice of flavor)
Instructions
- Preheat your oven to 350°F (175°C).
- In a large bowl, cream together the softened butter and sugar until light and fluffy.
- Add the egg yolk and vanilla extract, mixing until well combined.
- Gradually add the flour and salt, mixing until a dough forms.
- Roll the dough into 1-inch balls and place them on a baking sheet lined with parchment paper.
- Use your thumb or the back of a spoon to create an indentation in the center of each ball.
- Fill each indentation with your choice of jam.
- Bake for 12-15 minutes or until the edges are lightly golden.
- Allow to cool on the baking sheet for a few minutes before transferring to a wire rack to cool completely.
Notes
- Feel free to experiment with different flavors of jam.
- Store cookies in an airtight container for up to a week.
- These cookies can be frozen for longer storage.
Nutrition
- Serving Size: 1 cookie
- Calories: 120
- Sugar: 8g
- Sodium: 50mg
- Fat: 7g
- Saturated Fat: 4g
- Unsaturated Fat: 2g
- Trans Fat: 0g
- Carbohydrates: 12g
- Fiber: 0g
- Protein: 1g
- Cholesterol: 30mg
Keywords: Holiday Thumbprint Cookies, Jam Cookies, Festive Cookies, Christmas Cookies