
Halloween Monster Mash Cookies: A Treat You’ll Love!
Halloween Monster Mash Cookies
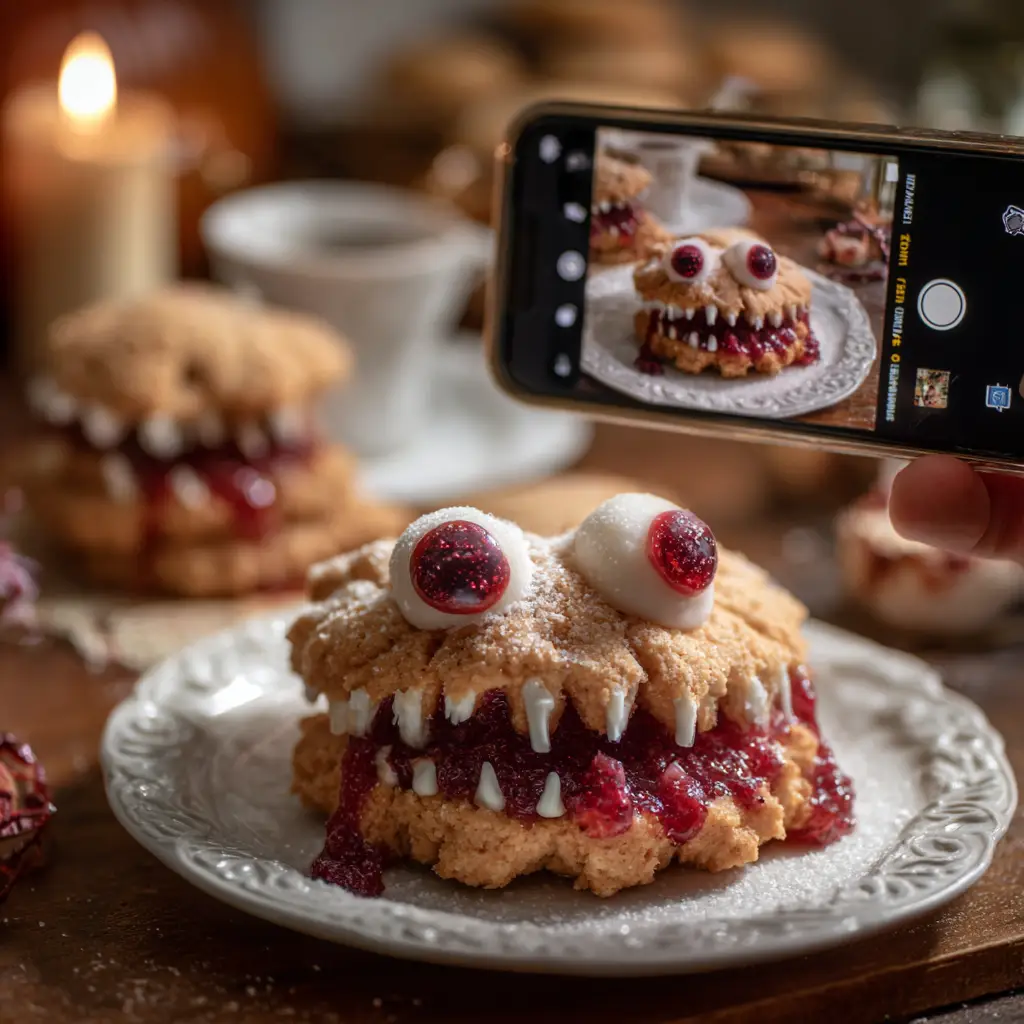
Introduction to Halloween Monster Mash Cookies
As the leaves turn and the air gets crisp, I can’t help but get excited about Halloween. It’s that magical time of year when we can indulge in all things spooky and sweet. That’s where my Halloween Monster Mash Cookies come in! These delightful treats are not just delicious; they’re a quick solution for busy moms like us who want to whip up something festive without spending hours in the kitchen. With a mix of chocolate chips, candy corn, and M&M’s, these cookies are sure to impress your loved ones and bring smiles all around!
Why You’ll Love This Halloween Monster Mash Cookies
These Halloween Monster Mash Cookies are a dream come true for busy families. They come together in just 20 minutes, making them perfect for last-minute treats. The combination of flavors is simply irresistible, with chocolate chips and candy corn dancing together in every bite. Plus, they’re a hit with kids and adults alike, ensuring that your Halloween celebrations are filled with joy and laughter!
Ingredients for Halloween Monster Mash Cookies
Gathering the right ingredients is half the fun of baking! For these Halloween Monster Mash Cookies, you’ll need a delightful mix of staples and festive treats. Here’s what you’ll need:
- Unsalted butter: This is the base of your cookies, providing richness and flavor. Make sure it’s softened for easy mixing.
- Granulated sugar: This sweetener helps create that perfect chewy texture we all love in cookies.
- Brown sugar: Packed with moisture, brown sugar adds a hint of caramel flavor and keeps your cookies soft.
- Large eggs: Eggs bind the ingredients together and contribute to the cookies’ structure and richness.
- Vanilla extract: A splash of vanilla elevates the flavor, making your cookies taste homemade and delicious.
- All-purpose flour: The backbone of your cookie dough, flour gives the cookies their shape and texture.
- Baking soda: This leavening agent helps the cookies rise and become fluffy, rather than flat.
- Salt: Just a pinch enhances all the flavors, balancing the sweetness beautifully.
- Chocolate chips: These little morsels of joy add melty goodness in every bite.
- Candy corn: A Halloween classic, candy corn brings a fun, festive touch and a burst of sweetness.
- M&M’s: Colorful and crunchy, M&M’s add a delightful texture and a pop of color to your cookies.
- Chopped nuts (optional): If you like a bit of crunch, feel free to toss in some nuts for added flavor and texture.
For exact measurements, check the bottom of the article where you can find everything listed for easy printing. Happy baking!
How to Make Halloween Monster Mash Cookies
Now that we have our ingredients ready, let’s dive into the fun part—making these Halloween Monster Mash Cookies! Follow these simple steps, and you’ll have a batch of delicious cookies in no time.
Step 1: Preheat the Oven
First things first, preheat your oven to 350°F (175°C). Preheating is crucial because it ensures that your cookies bake evenly. If you skip this step, your cookies might spread too much or not rise properly. Trust me, a well-preheated oven is the secret to cookie perfection!
Step 2: Cream the Butter and Sugars
In a large bowl, cream together the softened butter, granulated sugar, and brown sugar until the mixture is smooth and fluffy. This step is vital for achieving the right texture. The air you incorporate while creaming helps your cookies rise beautifully. Aim for a light and creamy consistency—think of it as the foundation of your cookie masterpiece!
Step 3: Add Eggs and Vanilla
Next, add the eggs and vanilla extract to the butter-sugar mixture. Mix well until everything is combined. Eggs are essential for binding the ingredients together, while vanilla adds that warm, comforting flavor we all adore. It’s like a hug in cookie form!
Step 4: Combine Dry Ingredients
In another bowl, whisk together the all-purpose flour, baking soda, and salt. Mixing these dry ingredients separately helps ensure that the baking soda is evenly distributed. This step prevents any unexpected pockets of saltiness or baking soda in your cookies. It’s all about balance!
Step 5: Mix Wet and Dry Ingredients
Now, gradually add the dry ingredients to the wet mixture. Stir gently until just combined. Be careful not to overmix! Overmixing can lead to tough cookies, and we want them to be soft and chewy. A few flour streaks are okay; they’ll disappear as you fold in the fun add-ins.
Step 6: Fold in the Fun Add-ins
Here comes the exciting part! Gently fold in the chocolate chips, candy corn, and M&M’s. This is where the magic happens! The colorful candy adds a festive touch, and the chocolate chips bring that melty goodness. It’s like a party in your cookie dough!
Step 7: Shape and Bake
Using a spoon or cookie scoop, drop spoonfuls of dough onto a baking sheet lined with parchment paper. Make sure to leave some space between each cookie, as they will spread while baking. Bake for 10-12 minutes or until the edges are golden brown. Keep an eye on them; you want that perfect balance of chewy and crispy!
Step 8: Cool and Enjoy
Once baked, allow the cookies to cool on the baking sheet for a few minutes before transferring them to a wire rack. This cooling time is essential for the cookies to set properly. If you move them too soon, they might fall apart. Patience is key here, but the delicious aroma wafting through your kitchen will make it worth the wait!
Tips for Success
- Use room temperature butter for easier creaming and better texture.
- Don’t skip the cooling time; it helps the cookies firm up.
- Experiment with different add-ins like white chocolate or dried fruit.
- For uniform cookies, use a cookie scoop to portion the dough.
- Store cookies in an airtight container to keep them fresh longer.
Equipment Needed
- Baking sheet: A standard cookie sheet works well, but a stoneware pan can give you a nice, even bake.
- Parchment paper: If you don’t have this, greasing the baking sheet is a good alternative.
- Mixing bowls: Use any size, but a large bowl is best for creaming ingredients.
- Cookie scoop: A spoon works too, but a scoop ensures uniform cookies.
- Wire rack: If you don’t have one, a plate will do for cooling.
Variations
- For a gluten-free option, substitute all-purpose flour with a 1:1 gluten-free flour blend.
- Try adding peanut butter chips for a nutty twist that pairs perfectly with chocolate.
- For a festive touch, use seasonal sprinkles instead of M&M’s to add color and fun.
- Make them dairy-free by using coconut oil instead of butter and dairy-free chocolate chips.
- For a healthier version, reduce the sugar by half and add oats for extra fiber.
Serving Suggestions
- Pair these cookies with a glass of cold milk for a classic treat.
- Serve alongside a warm cup of apple cider for a cozy fall vibe.
- For a festive presentation, stack cookies on a spooky-themed platter.
- Wrap cookies in colorful cellophane for fun party favors.
- Enjoy them with a scoop of vanilla ice cream for an indulgent dessert.
FAQs about Halloween Monster Mash Cookies
As you embark on your baking adventure with these Halloween Monster Mash Cookies, you might have a few questions. Here are some common queries that I’ve encountered, along with helpful answers to guide you along the way!
Can I make these cookies ahead of time?
Absolutely! You can prepare the dough in advance and refrigerate it for up to 3 days. Just scoop and bake when you’re ready for fresh cookies!
What can I substitute for candy corn?
If candy corn isn’t your thing, feel free to swap it out for mini marshmallows or chocolate-covered pretzels for a different twist. The goal is to keep it fun and festive!
How should I store leftover cookies?
Store your Halloween Monster Mash Cookies in an airtight container at room temperature. They’ll stay fresh for up to a week, but I doubt they’ll last that long!
Can I freeze these cookies?
Yes! These cookies freeze beautifully. Just place them in a single layer in a freezer-safe container. They can be frozen for up to 3 months. Perfect for those unexpected guests!
What’s the best way to decorate these cookies?
For a spooky touch, drizzle melted chocolate over the cooled cookies or add festive sprinkles before baking. Let your creativity shine!
Final Thoughts
As I reflect on my Halloween Monster Mash Cookies, I can’t help but smile. They’re more than just a treat; they’re a way to create memories with family and friends. The joy of baking together, the laughter shared over a warm batch, and the delight in every colorful bite make this recipe truly special. Whether you’re hosting a spooky gathering or simply enjoying a cozy night in, these cookies bring a festive spirit to any occasion. So, roll up your sleeves, gather your loved ones, and let the magic of Halloween fill your kitchen!
PrintHalloween Monster Mash Cookies: A Treat You’ll Love!

Delicious and spooky Halloween Monster Mash Cookies that are perfect for your Halloween celebrations.
- Prep Time: 20 minutes
- Cook Time: 12 minutes
- Total Time: 32 minutes
- Yield: 24 cookies 1x
- Category: Dessert
- Method: Baking
- Cuisine: American
- Diet: Vegetarian
Ingredients
- 1 cup unsalted butter, softened
- 1 cup granulated sugar
- 1 cup brown sugar, packed
- 2 large eggs
- 1 teaspoon vanilla extract
- 3 cups all-purpose flour
- 1 teaspoon baking soda
- 1/2 teaspoon salt
- 1 cup chocolate chips
- 1 cup candy corn
- 1 cup M&M’s
- 1/2 cup chopped nuts (optional)
Instructions
- Preheat your oven to 350°F (175°C).
- In a large bowl, cream together the softened butter, granulated sugar, and brown sugar until smooth.
- Add the eggs and vanilla extract, mixing well.
- In another bowl, whisk together the flour, baking soda, and salt.
- Gradually add the dry ingredients to the wet ingredients, mixing until just combined.
- Fold in the chocolate chips, candy corn, M&M’s, and nuts if using.
- Drop spoonfuls of dough onto a baking sheet lined with parchment paper.
- Bake for 10-12 minutes or until the edges are golden brown.
- Allow to cool on the baking sheet for a few minutes before transferring to a wire rack to cool completely.
Notes
- For a more festive look, add additional candy decorations on top of the cookies before baking.
- Store cookies in an airtight container for up to a week.
- These cookies can be frozen for up to 3 months.
Nutrition
- Serving Size: 1 cookie
- Calories: 150
- Sugar: 10g
- Sodium: 100mg
- Fat: 7g
- Saturated Fat: 4g
- Unsaturated Fat: 2g
- Trans Fat: 0g
- Carbohydrates: 20g
- Fiber: 1g
- Protein: 2g
- Cholesterol: 30mg
Keywords: Halloween, cookies, monster mash, treats, dessert