
Grinch Macarons: Make Holiday Treats That Wow!
Introduction to Grinch Macarons
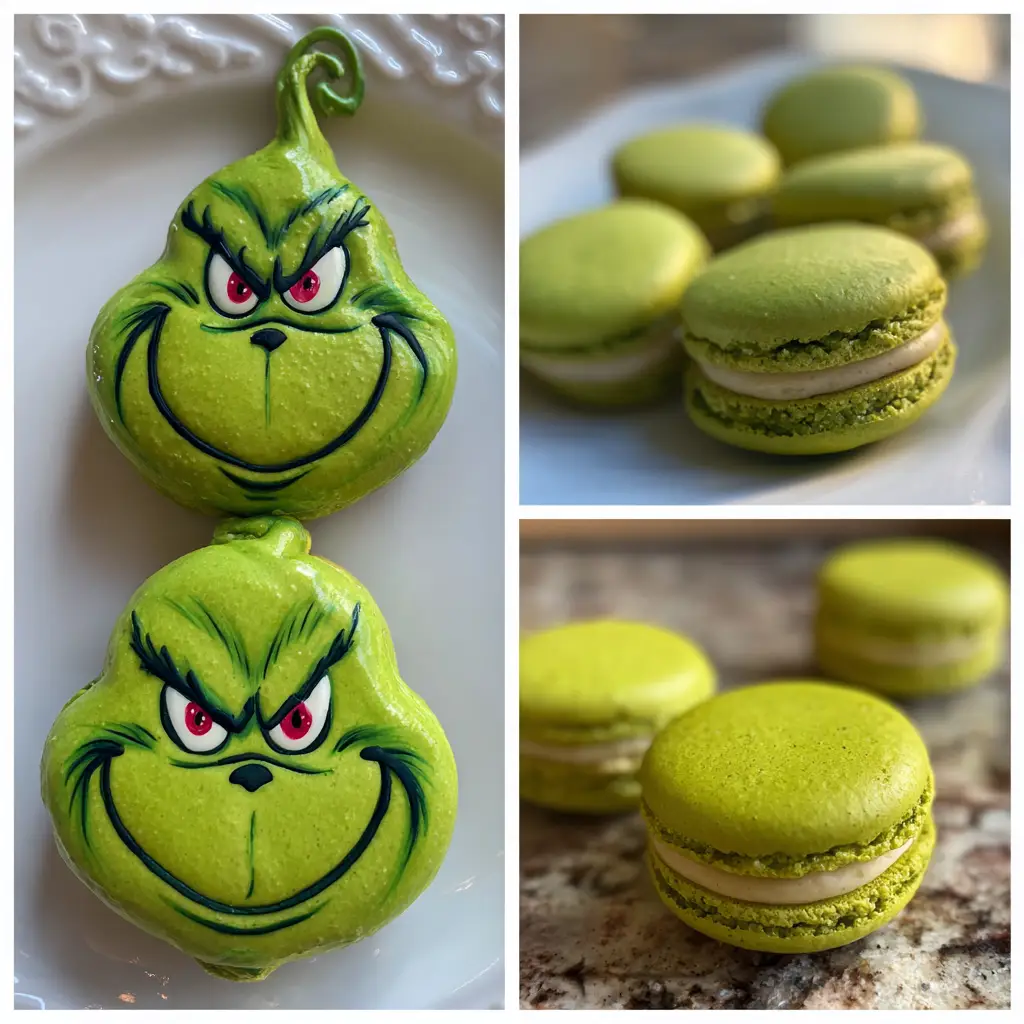
As the holiday season approaches, I find myself searching for festive treats that not only taste amazing but also bring a smile to my loved ones’ faces. That’s where these delightful Grinch Macarons come in! They’re the perfect blend of fun and flavor, making them a quick solution for busy days filled with holiday preparations. Plus, who can resist those adorable green cookies with a touch of red? Whether you’re hosting a gathering or simply want to spread some cheer, these macarons are sure to impress and create sweet memories.
Why You’ll Love This Grinch Macarons
These Grinch Macarons are not just a treat; they’re a delightful experience! They’re surprisingly easy to make, even for busy moms like us. With a prep time of just 30 minutes, you can whip up a batch in no time. Plus, their vibrant green color and creamy filling make them a festive favorite. Trust me, the smiles on your family’s faces will be worth every moment spent in the kitchen!
Ingredients for Grinch Macarons
Gathering the right ingredients is the first step to creating these festive Grinch Macarons. Here’s what you’ll need:
- Almond flour: This gives the macarons their signature texture. It’s light and nutty, making each bite melt in your mouth.
- Powdered sugar: Essential for sweetness and a smooth filling. It helps create that delicate crust we all love.
- Egg whites: The backbone of macarons! They provide structure and help achieve those lovely, airy peaks.
- Granulated sugar: This is added to the egg whites to stabilize them, ensuring your macarons hold their shape.
- Green gel food coloring: A must for that Grinchy hue! Gel coloring is more concentrated than liquid, so a little goes a long way.
- Vanilla extract: This adds a warm, comforting flavor that complements the sweetness of the macarons.
- Butter: Softened butter is key for a creamy filling. It adds richness and a smooth texture.
- Cream cheese: This gives the filling a tangy twist, balancing the sweetness perfectly.
- Red candy hearts: These are for decoration, adding a pop of color and a festive touch to your macarons.
For exact measurements, check the bottom of the article where you can find everything listed for easy printing. Feel free to experiment with flavors or colors to make these macarons your own!
How to Make Grinch Macarons
Step 1: Preheat and Prepare
First things first, let’s get that oven preheating to 300°F (150°C). This is crucial for achieving the perfect macaron texture. While the oven warms up, line your baking sheets with parchment paper. This will prevent the macarons from sticking and make cleanup a breeze. I like to use a silicone mat for extra non-stick assurance. Trust me, a little prep goes a long way in ensuring your Grinch Macarons turn out beautifully!
Step 2: Sift the Dry Ingredients
Next, it’s time to sift together the almond flour and powdered sugar. This step is essential! Sifting helps eliminate any lumps and ensures a smooth batter. A smooth batter means a smooth macaron shell. I always find that taking a moment to sift makes a world of difference in the final product. Plus, it’s a great way to get your kids involved in the kitchen. They love helping with the sifting!
Step 3: Whip the Egg Whites
Now, let’s whip those egg whites! In a clean bowl, beat the egg whites until they become foamy. Gradually add the granulated sugar while continuing to beat. You’re looking for stiff peaks here, which means the egg whites should hold their shape when you lift the whisk. This is the magic that gives macarons their airy texture. It’s like creating a fluffy cloud of goodness! Just be careful not to overbeat, or they can become dry.
Step 4: Add Color and Flavor
Once you’ve achieved those lovely stiff peaks, it’s time to add some fun! Gently mix in the green gel food coloring and vanilla extract. The gel coloring is perfect for achieving that vibrant Grinch hue without adding too much liquid. I love watching the egg whites transform into a bright green masterpiece! The vanilla adds a warm, inviting flavor that complements the sweetness of the macarons beautifully.
Step 5: Combine Mixtures
Now comes the folding! Carefully add the sifted almond flour mixture to the whipped egg whites. Use a spatula to fold gently, being careful not to deflate the egg whites. This step is crucial for maintaining that light and airy texture. You want the batter to flow like lava but still hold its shape. It’s a delicate balance, but with a little practice, you’ll get the hang of it!
Step 6: Pipe the Batter
Time to pipe! Transfer the macaron batter into a piping bag fitted with a round tip. Pipe small circles onto your prepared baking sheets, leaving space between each one. I like to use a template under the parchment paper to keep them uniform. If you don’t have a template, just eyeball it! It’s all about having fun. Remember, they don’t have to be perfect; they’ll taste amazing regardless!
Step 7: Let Them Rest
Patience is key here! Let the piped macarons sit at room temperature for 30-60 minutes. This allows a skin to form on the surface, which is essential for that beautiful macaron “foot.” You’ll know they’re ready when you can lightly touch the surface without it sticking to your finger. This step is often overlooked, but it’s vital for achieving that perfect texture!
Step 8: Bake the Macarons
Now, it’s time to bake! Place the macarons in the preheated oven and bake for 15-20 minutes. Keep an eye on them; you want them to rise and form that lovely foot. Once they’re done, let them cool completely on the baking sheets. This cooling time is crucial, as it helps them firm up. The aroma wafting through your kitchen will be heavenly, and you’ll be counting down the minutes until you can fill them!
Step 9: Make the Filling
While the macarons cool, let’s whip up the filling! In a bowl, beat together the softened butter, cream cheese, and powdered sugar until smooth and creamy. This filling is the perfect balance of sweet and tangy, complementing the macarons beautifully. You can even add a splash of vanilla or a hint of lemon zest for an extra flavor boost. It’s a simple yet delicious filling that will have everyone coming back for more!
Step 10: Assemble and Decorate
Finally, it’s time to assemble your Grinch Macarons! Pipe the filling onto half of the cooled macarons and sandwich them with the other half. For a festive touch, decorate the tops with red candy hearts. These little hearts add a pop of color and a sweet surprise. As you bite into these delightful treats, you’ll be reminded of the joy of the season. Enjoy every moment of this delicious creation!
Tips for Success
- Make sure your egg whites are at room temperature for better volume.
- Use a kitchen scale for precise measurements, especially for almond flour and powdered sugar.
- Don’t rush the resting time; it’s crucial for the perfect macaron texture.
- Experiment with different fillings to keep things exciting!
- Practice piping to improve your technique; it gets easier with time.
Equipment Needed
- Baking sheets: Use standard sheets or a silicone baking mat for easy removal.
- Parchment paper: Essential for lining your baking sheets; it prevents sticking.
- Piping bags: A disposable or reusable bag works well for piping the batter.
- Mixing bowls: Have a couple of medium-sized bowls for mixing ingredients.
- Electric mixer: A hand or stand mixer is perfect for whipping egg whites.
Variations
- Chocolate Grinch Macarons: Add cocoa powder to the almond flour for a rich chocolate flavor. Pair with a chocolate ganache filling for a decadent twist.
- Minty Fresh: Incorporate peppermint extract into the filling for a refreshing holiday flavor. It’s like a winter wonderland in every bite!
- Nut-Free Option: Substitute almond flour with sunflower seed flour for a nut-free version. Just be aware that the color may change slightly.
- Vegan Macarons: Use aquafaba (the liquid from canned chickpeas) instead of egg whites. This makes a delightful vegan-friendly treat!
- Fruit-Flavored Filling: Experiment with fruit purees like raspberry or strawberry in the filling for a fruity surprise that complements the green shells.
Serving Suggestions
- Pair your Grinch Macarons with a warm cup of hot cocoa for a cozy treat.
- Serve them on a festive platter, garnished with fresh mint leaves for a pop of color.
- Include a side of whipped cream for an extra indulgent experience.
- These macarons make a delightful addition to holiday dessert tables.
- Wrap them in clear bags with ribbons for charming holiday gifts!
FAQs about Grinch Macarons
Can I make Grinch Macarons ahead of time?
Absolutely! You can prepare the macaron shells a day in advance and store them in an airtight container. Just wait to fill them until you’re ready to serve. This way, they stay fresh and delicious!
What can I use instead of almond flour?
If you need a nut-free option, sunflower seed flour works well as a substitute. Just keep in mind that it may alter the color slightly, but the taste will still be delightful!
How do I know when my macarons are done baking?
Look for a smooth, shiny surface and a little foot at the bottom. They should not be wobbly when you gently touch them. If they feel firm, they’re ready to cool!
Can I freeze Grinch Macarons?
Yes! You can freeze the unfilled shells for up to a month. Just make sure they’re in an airtight container. When you’re ready to enjoy, let them thaw before filling.
What’s the best way to store Grinch Macarons?
Store your filled macarons in an airtight container in the fridge. They’ll stay fresh for about a week. Just remember to let them come to room temperature before serving for the best flavor!
Final Thoughts
Making Grinch Macarons is more than just baking; it’s about creating joyful moments with family and friends. The vibrant green color and sweet filling bring a festive spirit to any gathering. I love how these little treats can spark smiles and laughter, making the holiday season even more special. Plus, they’re a fun way to involve the kids in the kitchen! So, whether you’re sharing them at a party or enjoying them with a cozy cup of cocoa, these macarons are sure to become a cherished holiday tradition in your home.
PrintGrinch Macarons: Make Holiday Treats That Wow!

Delicious and festive Grinch-themed macarons perfect for holiday celebrations.
- Prep Time: 30 minutes
- Cook Time: 20 minutes
- Total Time: 50 minutes
- Yield: 24 macarons 1x
- Category: Dessert
- Method: Baking
- Cuisine: French
- Diet: Vegetarian
Ingredients
- 1 cup almond flour
- 1 3/4 cup powdered sugar
- 3 large egg whites
- 1/4 cup granulated sugar
- 1/2 teaspoon green gel food coloring
- 1/2 teaspoon vanilla extract
- 1/2 cup butter, softened
- 1 cup powdered sugar (for filling)
- 1/4 cup cream cheese
- Red candy hearts (for decoration)
Instructions
- Preheat the oven to 300°F (150°C) and line baking sheets with parchment paper.
- In a bowl, sift together almond flour and powdered sugar.
- In a separate bowl, beat egg whites until foamy, then gradually add granulated sugar until stiff peaks form.
- Add green gel food coloring and vanilla extract to the egg whites and mix gently.
- Fold the almond flour mixture into the egg whites until fully combined.
- Pipe the macaron batter onto the prepared baking sheets in small circles.
- Let the macarons sit for 30-60 minutes until a skin forms on the surface.
- Bake for 15-20 minutes, then let cool completely.
- For the filling, beat together softened butter, cream cheese, and powdered sugar until smooth.
- Pipe the filling onto half of the macarons and sandwich with the other half. Decorate with red candy hearts.
Notes
- Ensure egg whites are at room temperature for best results.
- Macarons can be stored in an airtight container for up to a week.
- Experiment with different colors and flavors for the filling.
Nutrition
- Serving Size: 1 macaron
- Calories: 100
- Sugar: 10g
- Sodium: 50mg
- Fat: 5g
- Saturated Fat: 3g
- Unsaturated Fat: 2g
- Trans Fat: 0g
- Carbohydrates: 12g
- Fiber: 1g
- Protein: 2g
- Cholesterol: 15mg
Keywords: Grinch Macarons, Holiday Treats, Festive Desserts