
Grinch Cake Pops: Delightful Treats for Holiday Fun!
Introduction to Grinch Cake Pops
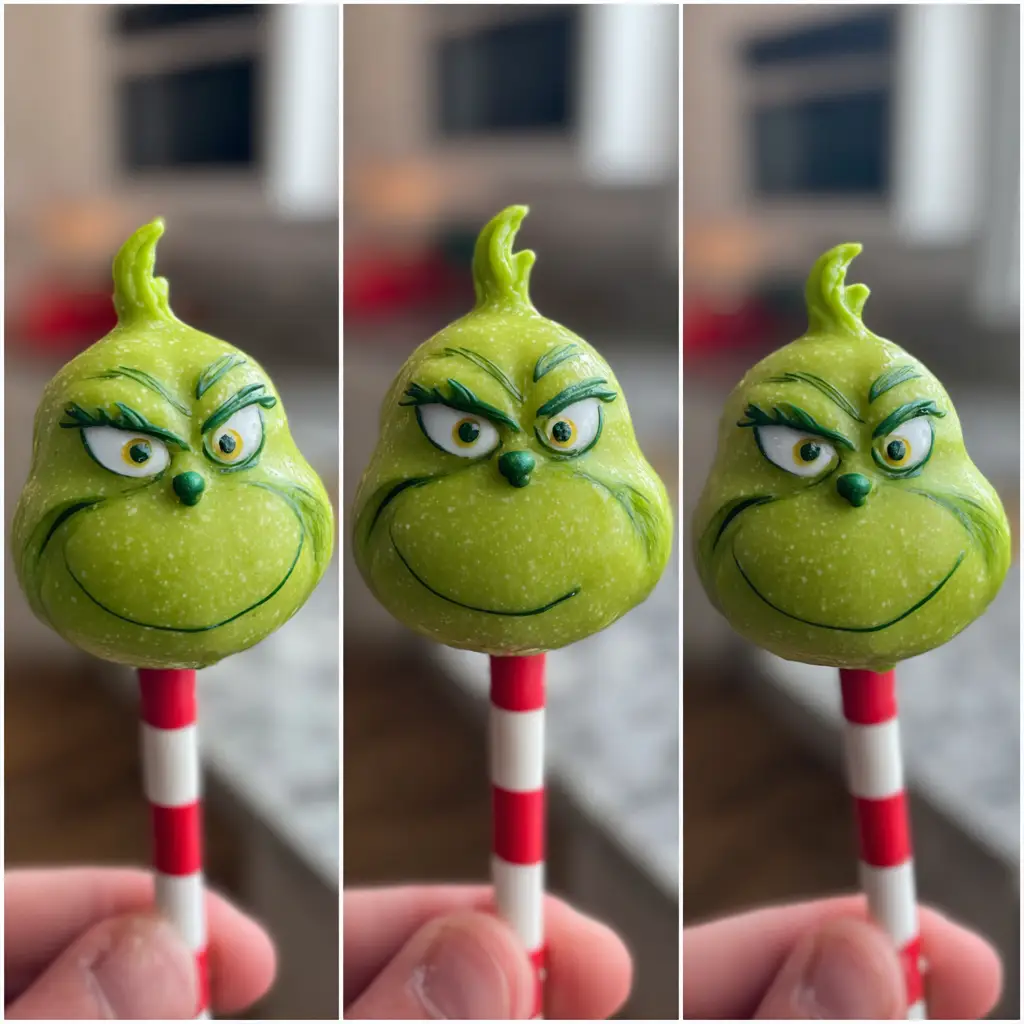
As the holiday season approaches, I find myself searching for festive treats that bring joy to my family. That’s where these delightful Grinch Cake Pops come in! Inspired by the beloved character from Dr. Seuss’s classic tale, these treats are not only adorable but also incredibly easy to make. Whether you’re a busy mom juggling work and family or a professional looking to impress at holiday gatherings, these cake pops are the perfect solution. They’re quick to whip up and guaranteed to put a smile on everyone’s face!
Why You’ll Love This Grinch Cake Pops
These Grinch Cake Pops are a holiday miracle for busy lives! They’re not just fun to make; they’re also a hit with kids and adults alike. With minimal prep time and simple ingredients, you can create a festive treat that looks impressive without the stress. Plus, the rich chocolate flavor combined with the sweet green frosting is a delightful taste sensation that will have everyone coming back for more!
Ingredients for Grinch Cake Pops
Gathering the right ingredients is the first step to creating these festive Grinch Cake Pops. Here’s what you’ll need:
- Chocolate cake mix: This is the base of your cake pops, providing a rich and moist flavor.
- Eggs: Essential for binding the cake mix together, giving it structure and moisture.
- Water: Helps to hydrate the cake mix, ensuring a fluffy texture.
- Vegetable oil: Adds moisture and richness to the cake, making it tender.
- Green frosting: This is what gives your cake pops their signature Grinch color and sweetness.
- White chocolate melts: Used for coating the cake pops, creating a smooth and delicious outer layer.
- Red candy melts: Perfect for adding a festive heart decoration on each cake pop.
- Green sprinkles: These add a fun, festive touch and a bit of crunch to your treats.
- Wooden sticks: Essential for transforming your cake balls into pops, making them easy to hold and eat.
Feel free to customize your cake pops with different colors or flavors! You can use store-bought frosting for convenience or whip up your own if you’re feeling adventurous. For exact quantities, check the bottom of the article where you can find a printable version of the recipe.
How to Make Grinch Cake Pops
Now that you have your ingredients ready, let’s dive into the fun part—making these adorable Grinch Cake Pops! Follow these simple steps, and you’ll have a festive treat that’s sure to impress.
Step 1: Prepare the Cake Mix
Start by preheating your oven according to the instructions on the cake mix box. This is crucial for getting that perfect rise. In a large mixing bowl, combine the chocolate cake mix, eggs, water, and vegetable oil. Mix until everything is well blended. It should be smooth and creamy, like a cozy chocolate hug!
Step 2: Bake and Cool the Cake
Pour the cake batter into a greased baking pan. Bake it in the preheated oven for the time specified on the box. Once it’s done, let it cool completely. This step is vital! If you skip it, your cake pops will turn into a gooey mess. Trust me, I’ve been there!
Step 3: Crumble the Cake
Once the cake is cool, it’s time to crumble it. Use your hands or a fork to break the cake into fine crumbs in a large bowl. The texture should resemble sand. This is where the magic begins, as you transform a simple cake into something extraordinary!
Step 4: Mix with Frosting
Add the green frosting to the crumbled cake. Mix it well until the frosting is fully incorporated. The mixture should be moist enough to hold its shape but not too sticky. If it feels too dry, add a bit more frosting. This is where the Grinch color comes to life!
Step 5: Form Cake Balls
Now, it’s time to roll the mixture into small balls. Aim for about one inch in diameter. Place them on a baking sheet lined with parchment paper. This is a fun step, and you can even get the kids involved! Just be sure to keep them uniform in size for even coating later.
Step 6: Freeze the Cake Pops
Insert wooden sticks into each cake ball, making sure they go in about halfway. Then, pop the baking sheet into the freezer for about 30 minutes. This helps the cake pops hold their shape when you dip them in chocolate. It’s like giving them a little chill before the big reveal!
Step 7: Melt the Chocolate
While the cake pops are freezing, melt the white chocolate melts in a microwave-safe bowl. Heat in short bursts, stirring in between, until smooth. Be careful not to overheat it! The chocolate should be silky and ready to coat your pops.
Step 8: Dip and Decorate
Once the cake pops are firm, dip each one into the melted chocolate. Make sure they’re fully coated. Let the excess chocolate drip off before placing them back on the baking sheet. While the chocolate is still wet, sprinkle green sprinkles on top. This adds a festive crunch!
Step 9: Let Set Before Serving
Finally, use the red candy melts to create little hearts on each cake pop. Let them set completely before serving. This is the hardest part—waiting! But trust me, the anticipation will make the first bite even sweeter.
Tips for Success
- Ensure your cake is completely cool before crumbling to avoid a sticky mess.
- Use a cookie scoop for uniform cake balls; it makes the process quicker!
- Don’t skip the freezing step; it helps the pops hold their shape.
- Experiment with different colors of candy melts for a fun twist.
- Store leftover cake pops in an airtight container for up to a week.
Equipment Needed
- Baking pan: A standard 9×13 inch pan works well, but any similar size will do.
- Mixing bowls: Use any large bowls you have on hand for mixing.
- Wooden sticks: If you don’t have these, try using lollipop sticks or even sturdy straws.
- Parchment paper: This helps with easy cleanup; aluminum foil can be a substitute.
- Microwave-safe bowl: Any heatproof bowl will work for melting chocolate.
Variations
- Gluten-Free: Substitute the chocolate cake mix with a gluten-free version to accommodate dietary needs.
- Flavor Twist: Try using vanilla or red velvet cake mix for a different flavor profile.
- Healthier Option: Use Greek yogurt instead of frosting for a lighter cake pop that still tastes great.
- Vegan Version: Replace eggs with flaxseed meal and use plant-based frosting and chocolate melts.
- Nutty Delight: Add crushed nuts or nut butter to the cake mixture for an extra crunch and flavor.
Serving Suggestions
- Pair these Grinch Cake Pops with hot cocoa for a cozy holiday treat.
- Serve them on a festive platter, surrounded by holiday-themed decorations.
- For a fun twist, create a cake pop stand to display them at parties.
- Include a side of fresh fruit for a colorful contrast.
FAQs about Grinch Cake Pops
Can I make Grinch Cake Pops ahead of time?
Absolutely! You can prepare the cake pops a day in advance. Just store them in an airtight container in the fridge. They’ll stay fresh and ready to impress your guests!
What can I use instead of green frosting?
If you want to get creative, you can use homemade frosting dyed with green food coloring. Cream cheese frosting also works beautifully for a tangy twist!
How do I store leftover cake pops?
Store any leftover Grinch Cake Pops in an airtight container at room temperature for up to a week. If you live in a warm climate, refrigerate them to keep the chocolate from melting.
Can I use different flavors of cake mix?
Definitely! While chocolate is a classic choice, feel free to experiment with vanilla, red velvet, or even lemon cake mix for a unique flavor experience.
Are Grinch Cake Pops suitable for kids?
Yes! These festive treats are perfect for kids. They’re fun to make and even more fun to eat. Just keep an eye on the little ones with the sticks!
Final Thoughts
Making Grinch Cake Pops is more than just a fun baking project; it’s a delightful way to create lasting memories with your loved ones. The joy on your kids’ faces as they help roll the cake balls and decorate them is priceless. Plus, these festive treats are sure to spark laughter and cheer at any holiday gathering. With their vibrant colors and delicious flavors, they embody the spirit of the season. So, gather your family, put on some holiday music, and let the magic of baking bring you all together. Happy baking!
PrintGrinch Cake Pops: Delightful Treats for Holiday Fun!

Grinch Cake Pops are festive and fun treats inspired by the beloved character from Dr. Seuss’s classic story. Perfect for holiday celebrations, these cake pops are sure to bring joy to both kids and adults alike.
- Prep Time: 30 minutes
- Cook Time: 30 minutes
- Total Time: 1 hour
- Yield: 24 cake pops 1x
- Category: Dessert
- Method: Baking and Decorating
- Cuisine: American
- Diet: Vegetarian
Ingredients
- 1 box of chocolate cake mix
- 3 eggs
- 1 cup of water
- 1/2 cup of vegetable oil
- 1 can of green frosting
- 1 package of white chocolate melts
- Red candy melts for decoration
- Green sprinkles
- Wooden sticks for cake pops
Instructions
- Preheat the oven and prepare the cake mix according to the package instructions.
- Bake the cake and let it cool completely.
- Crumble the cooled cake into a large bowl.
- Add green frosting to the crumbled cake and mix until well combined.
- Form the mixture into small balls and place them on a baking sheet.
- Insert wooden sticks into each ball and freeze for about 30 minutes.
- Melt the white chocolate melts in a microwave-safe bowl.
- Dip each cake pop into the melted chocolate, ensuring it is fully coated.
- Sprinkle green sprinkles on top before the chocolate hardens.
- Use red candy melts to create a heart shape on each cake pop for decoration.
- Let the cake pops set completely before serving.
Notes
- Make sure the cake is completely cooled before crumbling.
- You can use store-bought frosting or make your own.
- Feel free to customize the decorations to your liking.
Nutrition
- Serving Size: 1 cake pop
- Calories: 150
- Sugar: 12g
- Sodium: 50mg
- Fat: 7g
- Saturated Fat: 4g
- Unsaturated Fat: 2g
- Trans Fat: 0g
- Carbohydrates: 20g
- Fiber: 1g
- Protein: 2g
- Cholesterol: 30mg
Keywords: Grinch Cake Pops, Holiday Treats, Christmas Desserts, Festive Cake Pops