
Drumstick Ice Cream Cake: Discover the Perfect Treat!
Introduction to Drumstick Ice Cream Cake
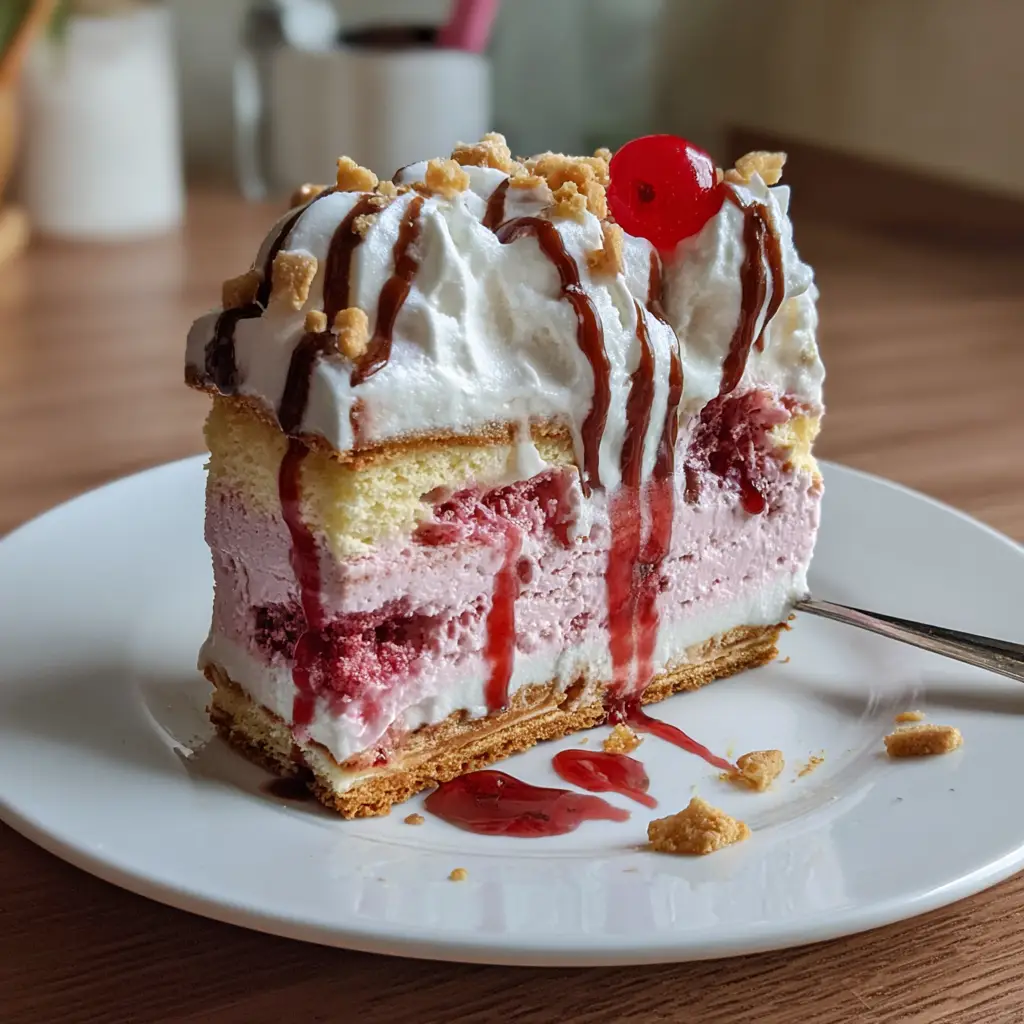
As a busy mom, I know how precious time can be, especially when it comes to whipping up something special for my family. That’s why I absolutely adore this Drumstick Ice Cream Cake! It’s the perfect blend of nostalgia and indulgence, combining the classic flavors of a drumstick ice cream cone with the comforting essence of cake. Whether it’s a birthday celebration or just a sweet treat after dinner, this dessert is sure to impress your loved ones. Plus, it’s quick and easy to make, so you can spend less time in the kitchen and more time enjoying life!
Why You’ll Love This Drumstick Ice Cream Cake
This Drumstick Ice Cream Cake is a delightful treat that checks all the boxes for busy moms and professionals alike. It’s incredibly easy to make, requiring minimal prep time while delivering maximum flavor. The combination of rich chocolate cake, creamy vanilla ice cream, and crunchy peanuts creates a taste sensation that will have everyone coming back for seconds. Plus, it’s a showstopper that will impress your guests without the stress!
Ingredients for Drumstick Ice Cream Cake
Gathering the right ingredients is the first step to creating this delightful Drumstick Ice Cream Cake. Here’s what you’ll need:
- Chocolate cake mix: This is the foundation of your cake, providing a rich and moist base. You can use a box mix for convenience or whip up a homemade version if you’re feeling adventurous.
- Vanilla ice cream: The star of the show! It adds a creamy layer that perfectly complements the chocolate cake. Feel free to swap it out for your favorite flavor, like mint chocolate chip or cookies and cream.
- Chocolate fudge sauce: This luscious sauce brings a decadent touch. You can use store-bought for ease or make your own for a richer flavor.
- Crushed peanuts: These add a delightful crunch and nutty flavor, reminiscent of the classic drumstick cone. If you have nut allergies, consider using crushed pretzels for a salty twist.
- Whipped cream: This fluffy topping is essential for that classic ice cream cake look. You can use store-bought or make your own for a fresher taste.
- Chocolate sprinkles: These are the finishing touch that adds a fun and festive flair. They’re optional, but who can resist a little extra chocolate?
For exact measurements, check the bottom of the article where you can find everything listed for easy printing. Happy baking!
How to Make Drumstick Ice Cream Cake
Now that you have all your ingredients ready, let’s dive into the fun part—making this Drumstick Ice Cream Cake! Follow these simple steps, and you’ll have a show-stopping dessert that’s sure to delight everyone.
Step 1: Preheat and Prepare
First things first, preheat your oven according to the instructions on the cake mix box. This is crucial for getting that perfect rise. While the oven warms up, prepare your cake batter as directed. It’s like a warm hug for your taste buds, so mix it well!
Step 2: Bake the Cake
Next, pour the batter into a round cake pan. Bake it according to the package instructions. The aroma of chocolate wafting through your kitchen will be irresistible! Once it’s done, let the cake cool completely. Patience is key here; we don’t want a melted ice cream disaster!
Step 3: Slice the Cake
Once your cake has cooled, it’s time to slice it in half horizontally. This creates two layers, perfect for holding all that delicious ice cream. Use a serrated knife for a clean cut. Trust me, it’s worth the effort!
Step 4: Add Ice Cream
Now comes the fun part! Spread a generous layer of vanilla ice cream on the bottom half of the cake. Make sure it’s soft enough to spread easily, but not too melted. This creamy layer is what makes this Drumstick Ice Cream Cake so special!
Step 5: Drizzle and Sprinkle
Drizzle that luscious chocolate fudge sauce over the ice cream. Let it cascade like a chocolate waterfall! Then, sprinkle the crushed peanuts on top. This adds a delightful crunch that will remind you of those classic drumstick cones.
Step 6: Assemble the Cake
Carefully place the top half of the cake back on. Now, cover the entire cake with whipped cream. This fluffy layer is essential for that classic ice cream cake look. Don’t be shy—make it as thick as you like!
Step 7: Garnish and Freeze
Finally, it’s time to garnish! Sprinkle chocolate sprinkles on top for that extra flair. Then, pop the cake in the freezer for at least 2 hours. This will help everything set perfectly. When you’re ready to serve, just slice and enjoy!
Tips for Success
- Make sure your cake is completely cool before adding ice cream to avoid melting.
- Use a warm knife to slice through the cake easily; it helps create clean layers.
- For a fun twist, try adding a layer of your favorite candy between the ice cream and cake.
- Keep the whipped cream chilled until you’re ready to frost the cake for better texture.
- Don’t skip the freezing step; it helps the flavors meld beautifully!
Equipment Needed
- Round cake pan: A standard 9-inch pan works perfectly. If you don’t have one, a square pan will do in a pinch!
- Mixing bowl: Any large bowl will suffice for mixing your cake batter.
- Serrated knife: This is ideal for slicing the cake. A regular knife can work too, but it may not be as clean.
- Spatula: Use this for spreading the ice cream and whipped cream evenly.
- Freezer-safe plate: To hold your cake while it freezes, any flat plate will work!
Variations
- Flavor Swaps: Try using chocolate ice cream instead of vanilla for a double chocolate delight!
- Nut-Free Option: Substitute crushed peanuts with crushed graham crackers or cookie crumbs for a nut-free version.
- Fruit Layer: Add a layer of fresh strawberries or bananas between the ice cream and cake for a fruity twist.
- Gluten-Free: Use a gluten-free chocolate cake mix to make this dessert suitable for gluten-sensitive friends.
- Vegan Version: Opt for a vegan chocolate cake mix and dairy-free ice cream for a plant-based treat.
Serving Suggestions
- Pair your Drumstick Ice Cream Cake with a scoop of extra vanilla ice cream for a delightful double treat.
- Serve with fresh berries on the side for a pop of color and freshness.
- Drizzle additional chocolate fudge sauce over individual slices for an indulgent touch.
- For drinks, consider serving with iced coffee or a refreshing lemonade to balance the sweetness.
- Present the cake on a colorful platter to make it a centerpiece at your gathering!
FAQs about Drumstick Ice Cream Cake
Can I make Drumstick Ice Cream Cake ahead of time?
Absolutely! This cake can be made a day in advance. Just keep it in the freezer until you’re ready to serve. It’s a great way to save time on busy days!
What if I don’t have chocolate fudge sauce?
No worries! You can use caramel sauce or even a fruit sauce for a different flavor profile. The key is to add that sweet, gooey layer!
Can I use a different cake flavor?
Definitely! While chocolate is classic, you can experiment with vanilla or even red velvet cake. Just think of the possibilities!
How do I store leftovers?
Store any leftover slices in an airtight container in the freezer. They’ll keep well for a few days, but trust me, they won’t last long!
Is this recipe suitable for kids?
Yes! This Drumstick Ice Cream Cake is a hit with kids. It’s fun, colorful, and packed with flavors they love. Just be ready for the smiles!
Final Thoughts
Creating this Drumstick Ice Cream Cake is more than just baking; it’s about making memories with your loved ones. The joy on their faces as they take that first bite is priceless. This dessert brings together the nostalgia of childhood treats and the warmth of family gatherings. It’s a simple yet indulgent way to celebrate life’s little moments. Plus, the ease of preparation means you can whip it up even on the busiest days. So, gather your ingredients, roll up your sleeves, and let the magic of this cake bring sweetness to your home!
PrintDrumstick Ice Cream Cake: Discover the Perfect Treat!

A delicious and indulgent dessert that combines the flavors of a classic drumstick ice cream cone with a cake, perfect for any occasion.
- Prep Time: 30 minutes
- Cook Time: 30 minutes
- Total Time: 3 hours
- Yield: 12 servings 1x
- Category: Dessert
- Method: Baking and Freezing
- Cuisine: American
- Diet: Vegetarian
Ingredients
- 1 box chocolate cake mix
- 3 cups vanilla ice cream
- 1 cup chocolate fudge sauce
- 1 cup crushed peanuts
- 1 cup whipped cream
- Chocolate sprinkles for garnish
Instructions
- Preheat the oven according to the cake mix instructions and prepare the cake batter.
- Bake the cake in a round pan as directed and let it cool completely.
- Once cooled, slice the cake in half horizontally.
- Spread a layer of vanilla ice cream on the bottom half of the cake.
- Drizzle chocolate fudge sauce over the ice cream and sprinkle crushed peanuts on top.
- Place the top half of the cake back on and cover the entire cake with whipped cream.
- Garnish with chocolate sprinkles and freeze for at least 2 hours before serving.
Notes
- For a richer flavor, use homemade chocolate fudge sauce.
- Feel free to substitute the vanilla ice cream with your favorite flavor.
- Make sure the cake is completely cooled before adding ice cream to prevent melting.
Nutrition
- Serving Size: 1 slice
- Calories: 350
- Sugar: 28g
- Sodium: 150mg
- Fat: 18g
- Saturated Fat: 10g
- Unsaturated Fat: 6g
- Trans Fat: 0g
- Carbohydrates: 40g
- Fiber: 1g
- Protein: 4g
- Cholesterol: 50mg
Keywords: Drumstick Ice Cream Cake, dessert, ice cream cake, chocolate cake